In Part 1 of "The Making Of" I showed you how I knitted and felted the first part of the bag. Now I want to share the finishing process with you. I have to say, it took me some sweat. Of course, it's the first bag I ever made. But I really like my new Clutch bag! <3
After the felting process I had to wait a little while. That's because a lovely friend of mine and also blogger Kathi from Naturli.de made an exchange with me. She sews very lovely clothes for her sweet children. Anyway, she really loved my crocheted cork trees so I made some for her and in exchange I got some fabric for my Clutch bag. :)
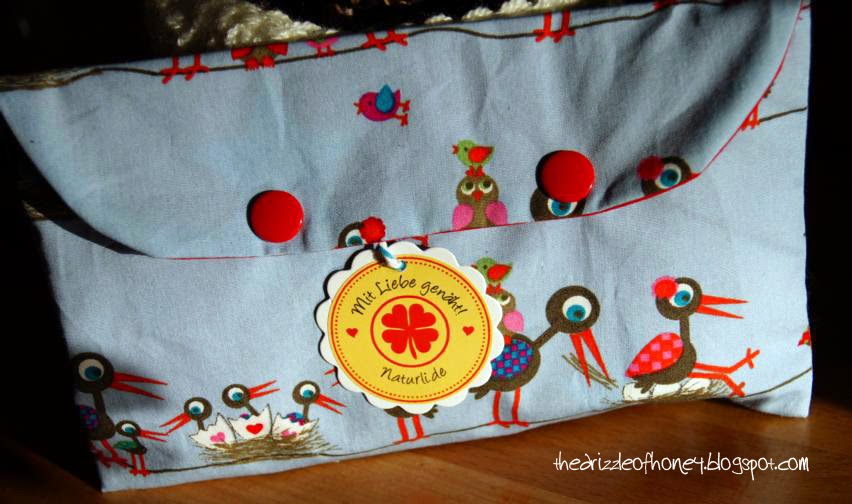
She sent it in a nice little sewn bag:
I could choose a fabric I like out of her depot. While waiting for her envelope to arrive, I embroidered a little flower on the backside of the clutch. And then I could finally sew the fabric into my bag! Unfortunatelly, it didn't work with the sewing machine because the felted part was way too thick. I had to sew it by hand. To close the bag, I wanted to use a normal button and add a little loop on the inside of the purple top. But then I decided to use a snap button. And it turned out great! I like it very much.
And here is how it looked like with the fabric sewn in:
Because the felted outside is so thick you could still see the thread everywhere around the edges. I didn't like that. And in my opinion the bag was still looking kind of "boring". Therefore, I decided to spice it up by crocheting a decor line around the edges.
For the purple top, I embroidered a line of thread along the edge, so I could crochet directly onto the bag. For the decor line I crocheted little picots along the edge. Picots are a very simple kind of edging.
Picot edging:
*chain 3, single crochet into first chain stich, skip one stich and single crochet into next stich*
Repeat from * to *
For the other edges and the inner edge I crocheted a row of half double crochet stiches and made picots on both sides of this row. The finished decore border I sewed onto the bag. For the inner edge I used a violet yarn. This brings a great contrast I think.
Now take a look at the finished Clutch bag! :)
Keep crafting everyone! :)


No comments:
Post a Comment